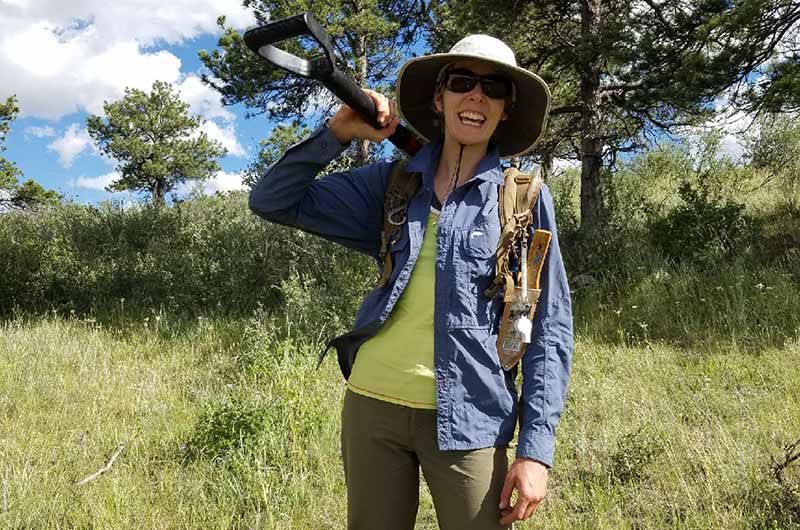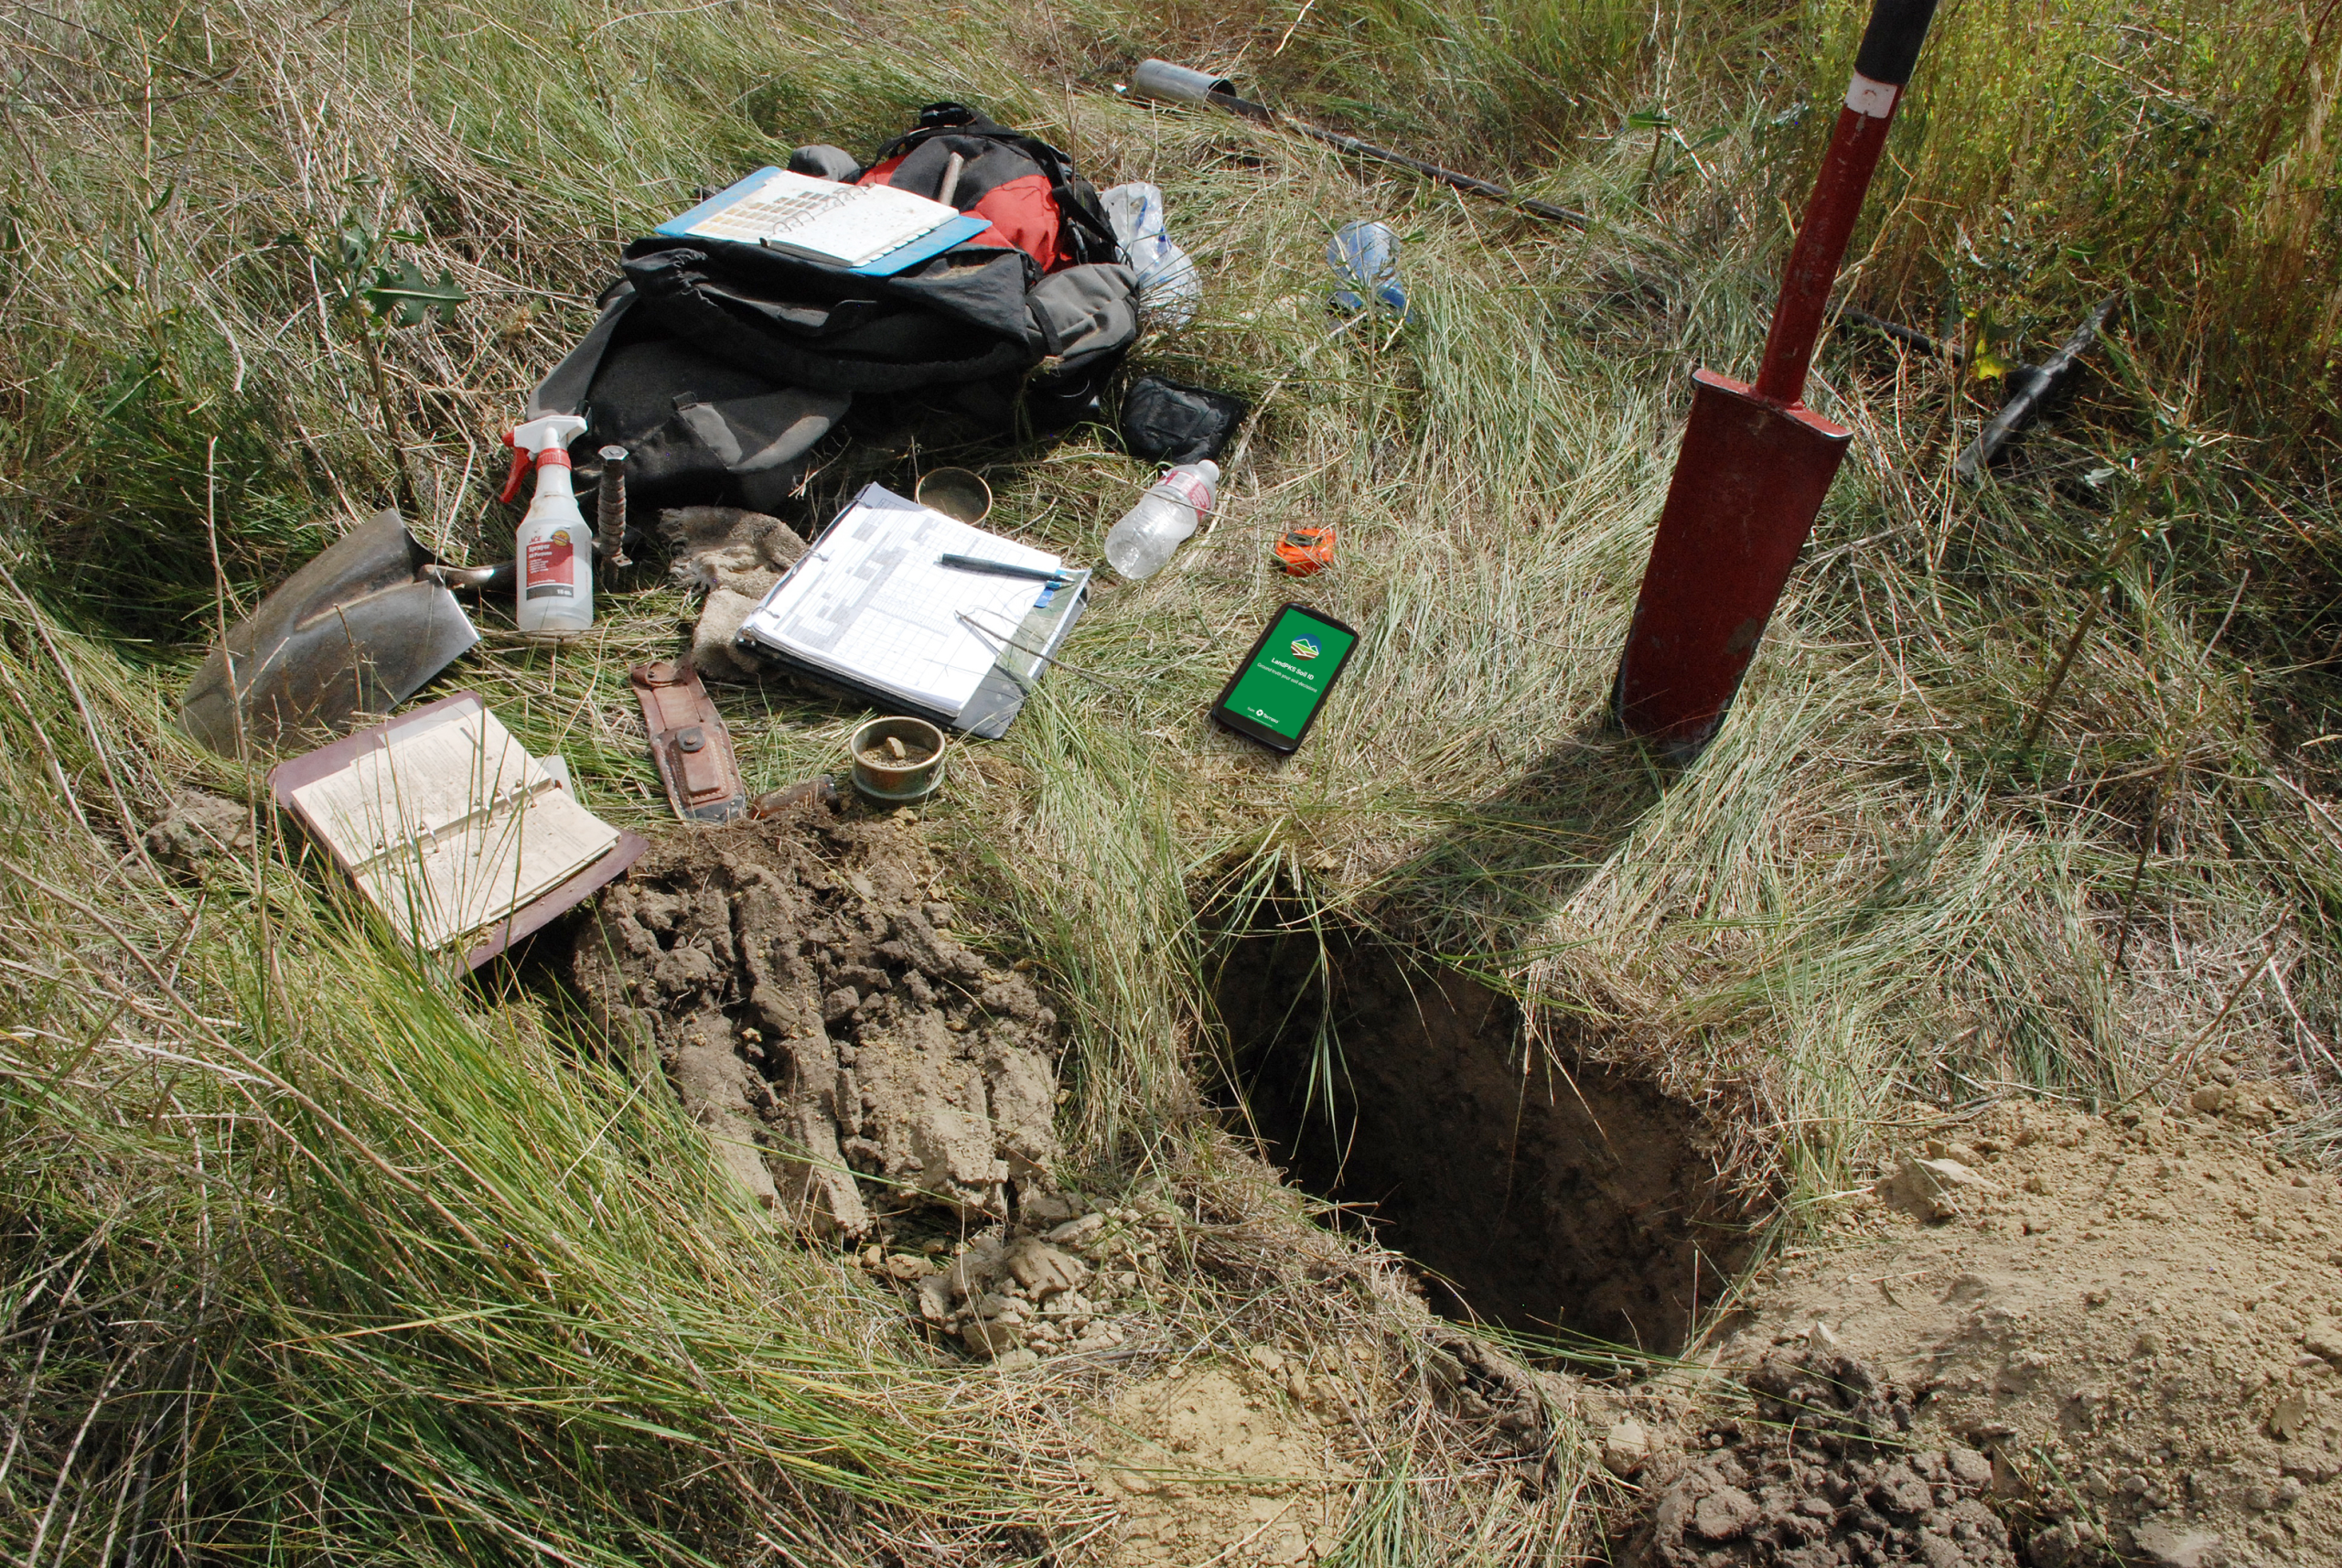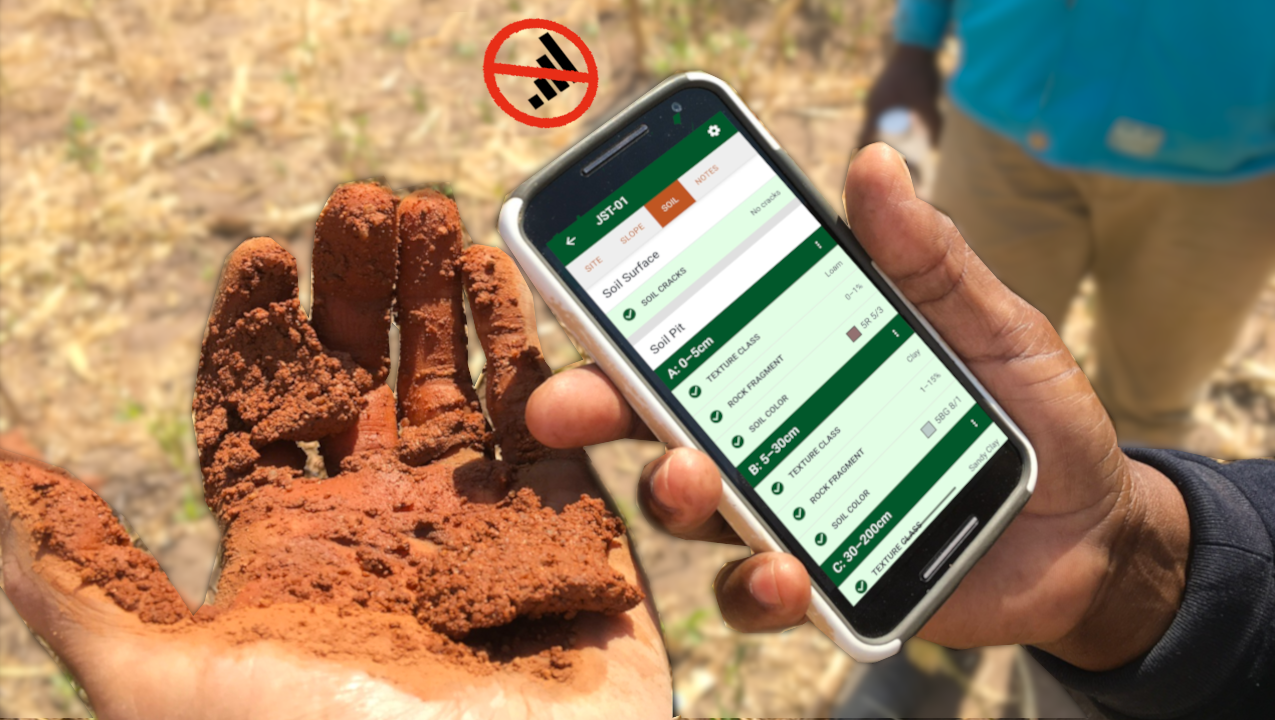

Digging a soil pit is the primary method for measuring soil observations with LandPKS Soil ID. A properly dug pit allows you to observe soil horizons, surface conditions, and subsurface features that inform soil interpretation and management. A soil auger may be used as an alternative more rapid method for examining the soil profile.
Option 1: Soil pit excavation
Pit size and preparation
- Target pit depth: 150 cm is ideal (or until refusal).
- Pit dimensions: Approximately 60 × 60 cm (2 ft × 2 ft).
- Before digging, clearly mark the pit boundaries on the ground.
Establishing the control face
- Choose one side of the pit to serve as the control (profile) face.
- Avoid stepping on or disturbing the soil surface along this face, as trampling can destroy soil structure and lead to misinterpretation.
- Place a visible object (e.g., a bag, flagging, or transect tape) along the control face to prevent accidental disturbance.
- Orient the control face so it is entirely in sun or entirely in shade, which improves visibility when describing horizons.
Digging technique
- Use a sharp-edged shovel (e.g., Montana sharpshooter) to break compacted soil.
- Lift the shovel and throw it into the soil using the weight of the shovel to break up the soil rather than your own strength, this reduces strain on shoulders, wrists, and back.
- After loosening the soil, use a spade shovel to remove the material.
- Repeat this process until reaching the target depth or refusal.
Dealing with obstacles
- Large rocks or cobbles: Use a rock bar to pry them loose.
- Cemented or petrocalcic horizons: A rock bar may be necessary to break through or confirm refusal.
- Bedrock: stop digging.
- Cultural artifacts: Stop digging and follow local guidelines for documentation and reporting.
Managing excavated soil
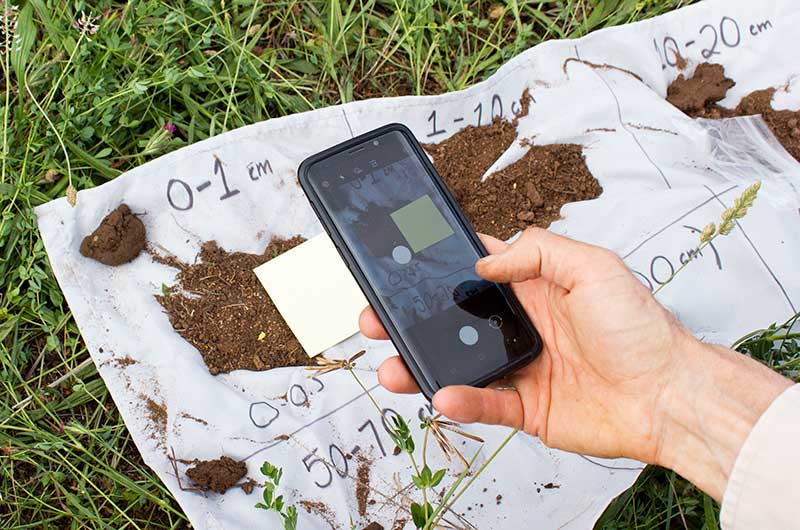
- Place removed soil on a tarp, keeping it in the same order it was excavated (surface material closest to the hole, deeper material farther away).
- Keep large rocks or cobbles with the soil layer they came from.
- This practice helps visually track changes in texture, color, and rock content with depth.
Option 2: Soil auger use
In locations where many sites need to be evaluated, and where soils are soft, fine-textured, and relatively free of rocks, cobbles, or stones, a soil auger can be an efficient tool for examining the soil profile. Augers are best suited for conditions where resistance is low and the risk of damaging the tool is minimal, allowing for rapid and repeated subsurface observations across multiple locations.
Auger technique
- Insert the auger vertically and rotate it clockwise while applying downward pressure.
- Remove the auger once it is full.
- Empty the soil onto a tarp or flat surface before continuing to the next increment.
- Repeat the process to reach the target depth or refusal.
Managing excavated soil
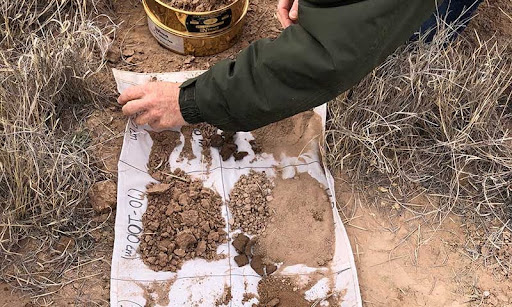
- Deposit excavated soil in sequence. This is particularly important when excavating with an auger because the hole will not be large enough to observe the soil profile in situ.
- Arrange soil on the tarp in the order it was removed to maintain a sense of vertical position within the soil profile. This sequencing helps interpret changes in texture, color, structure, and rock content with depth, even without a full pit.
Common challenges
- Large rocks and cobbles
- Shallow bedrock
- Petrocalcic or cemented horizons
- Arid/dry soils with high clay content