Collecting accurate soil data in the field requires the right tools. Having everything prepared before you head out saves time and ensures your observations are consistent and reliable. This guide lists the equipment needed to use LandPKS Soil ID and dig a soil pit, organized by what is required versus what is strongly recommended.
Required equipment
Technology
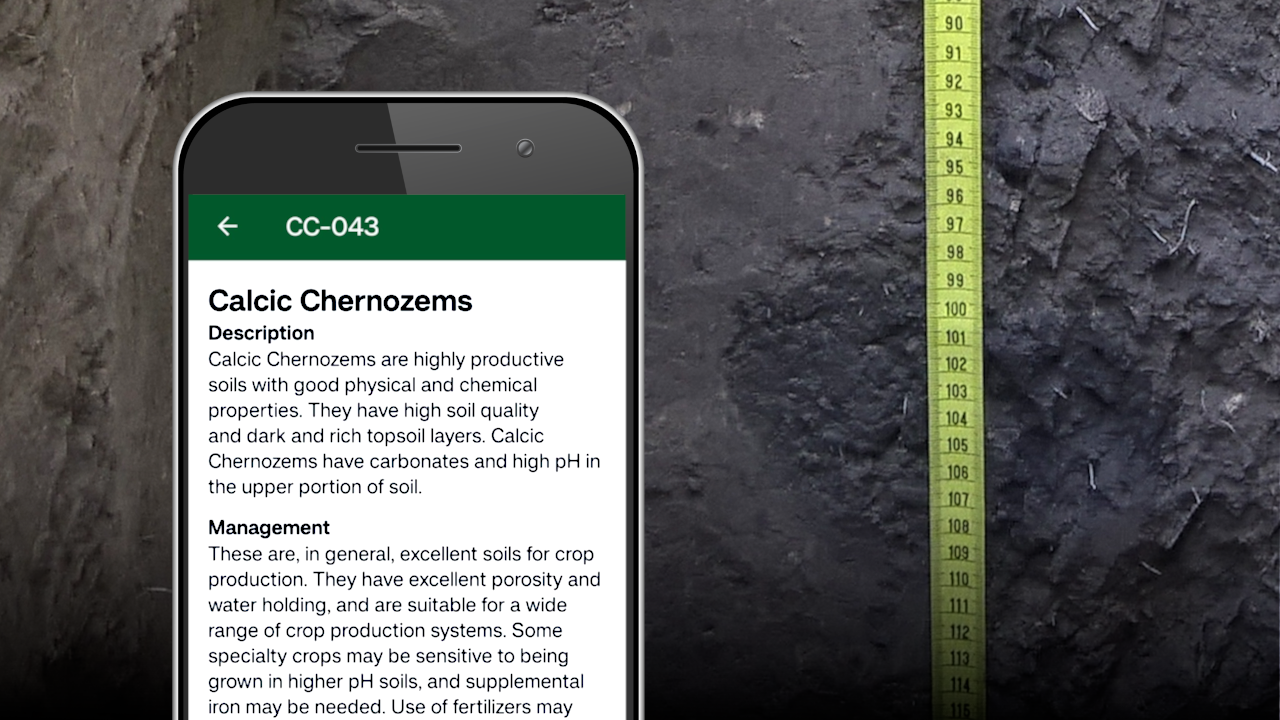
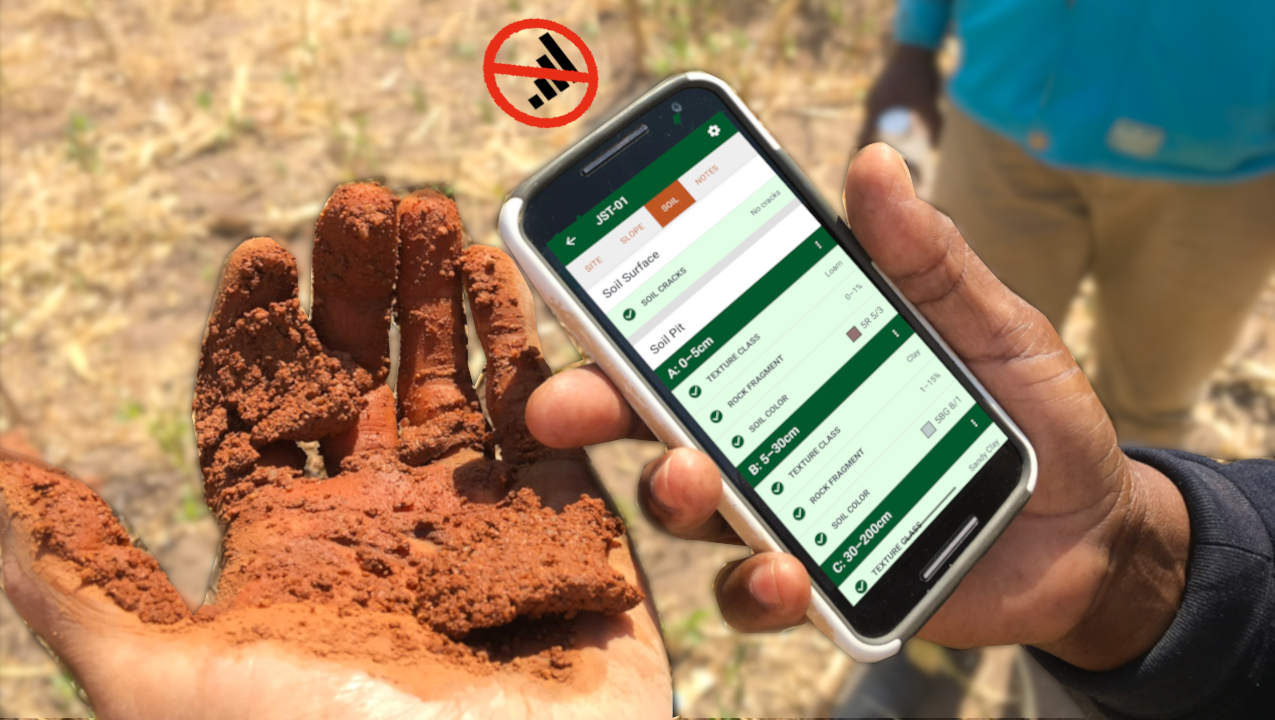
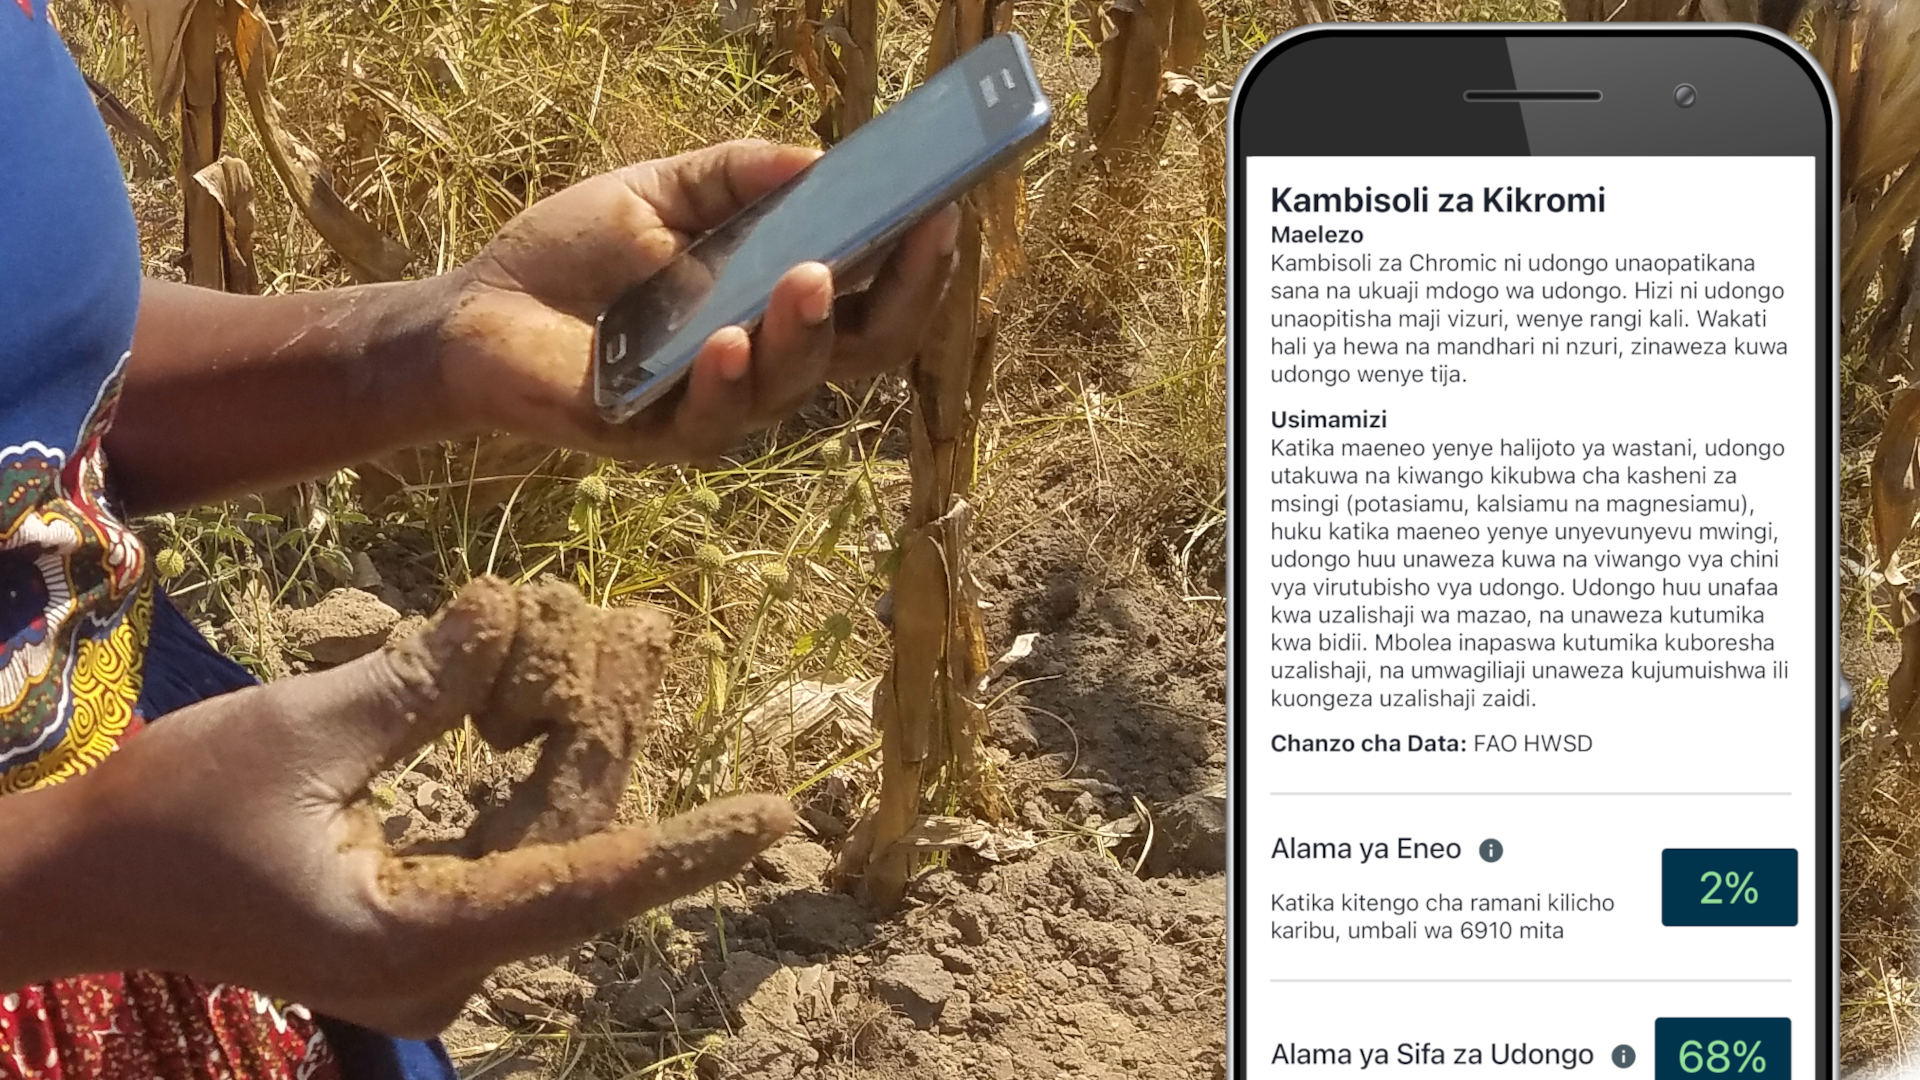
- Smartphone or tablet with LandPKS Soil ID installed: Required to record and submit observations. The app requires an internet connection to run the Soil ID algorithm, so consider loading your site before leaving for the field if connectivity at your site is uncertain.
- Terraso account: Required to save and sync data. Accounts can be created through the LandPKS Soil ID app or at app.terraso.org.
Pit digging equipment
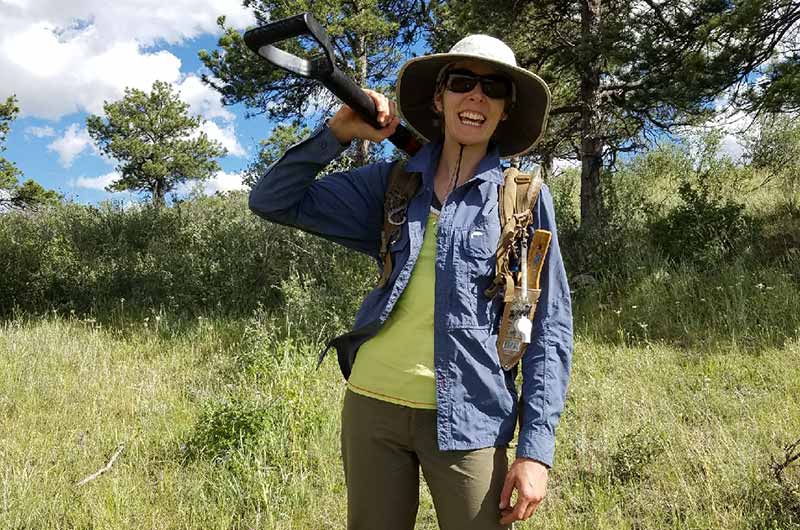
- Two shovels: Having two shovels with different functions makes digging faster and more controlled. A narrow, pointed shovel (such as a Montana Sharpshooter) is effective for breaking up compact soil and dislodging large cobbles. A standard flat-blade shovel is useful for scooping loosened material out of the pit.
- Measuring tape or ruler: Required for recording soil pit depth intervals accurately.
Soil observation supplies
- Squirt bottle with deionized (DI) water: Needed to moisten soil samples for texture analysis. Use DI water rather than tap water to avoid introducing external minerals or chemicals that could affect your observations.
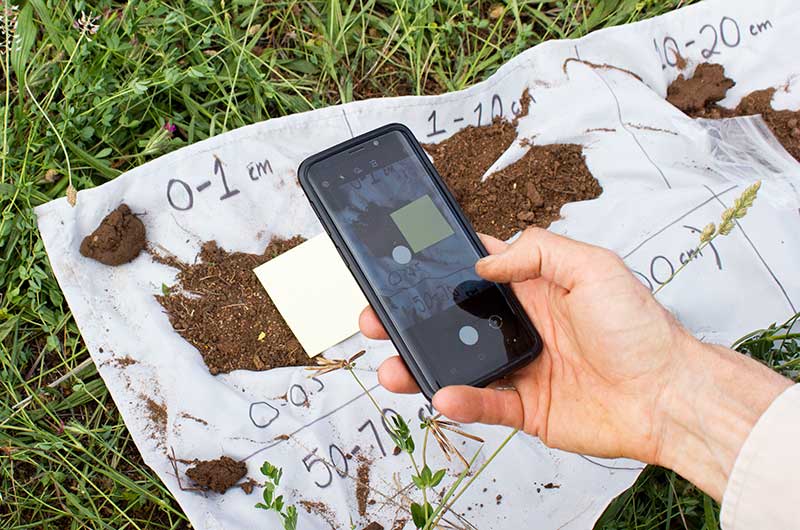
- Soil color reference (choose one): Either a Munsell Soil Color Book or a supply of 3M Canary Yellow Post-it notes is required for recording soil color. See the Soil Color section for guidance on both methods. If using Post-it notes, store them in a dark envelope to prevent sun exposure, and bring at least three unstacked notes per observation.
Recommended equipment
The following items are not strictly required but will improve the accuracy and efficiency of your data collection.
Pit management
- Tarp: Placing excavated soil on a tarp as you dig serves two purposes: it keeps material from each depth or horizon visually separate so you can review them, and it makes it easy to return soil to the pit when you are finished.
- Rock bar: Useful when digging in rocky or stony soils. A rock bar can pry large stones free and break apart cemented or indurated soil horizons that resist a shovel. Don’t use a sieve for breaking up hard soil peds—use the shovel blade instead.
Sampling and analysis
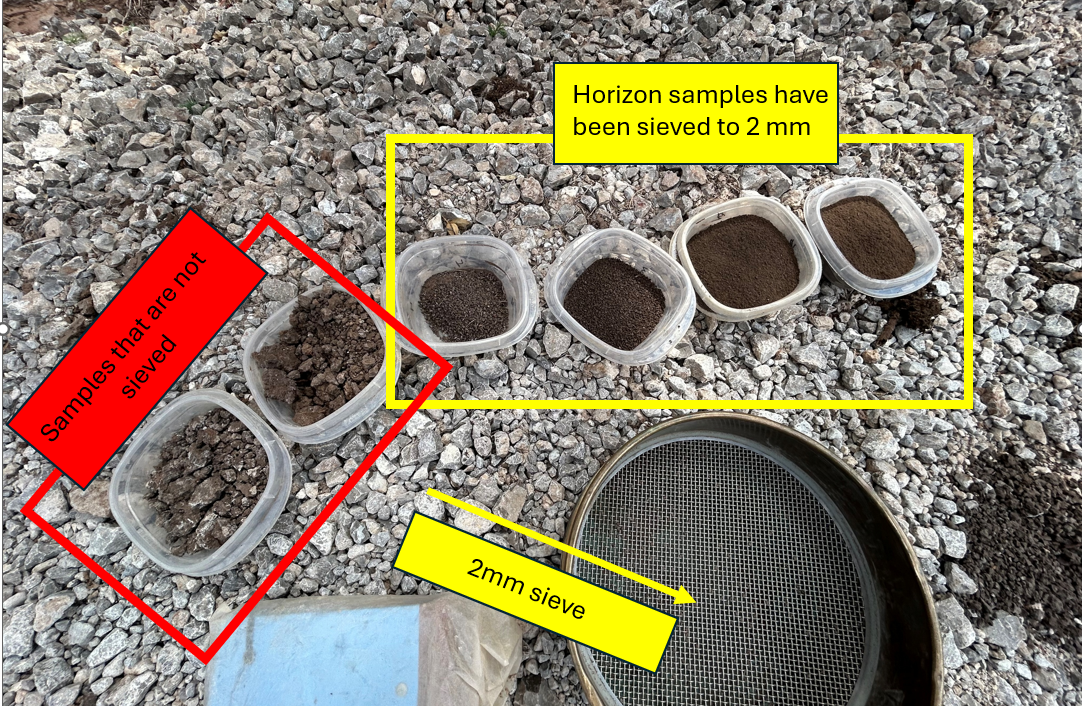
- 500 mL measuring cup: Collecting a standardized volume of soil from each horizon allows you to estimate rock fragment percentage consistently. Fill the cup to the 500 mL line, then pour the contents through a sieve to separate fine soil from coarse fragments.
- 2 mm sieve: Used to separate fine earth (particles < 2 mm) from rock fragments. Handle the sieve carefully — they are easily damaged. Never use a sieve to break apart hard soil peds; break those on a shovel blade first.
- Small containers: Separate containers for each horizon keep samples organized and prevent cross-contamination between depths. If containers are unavailable, soil can be arranged on the shovel blade or tarp.
- Soil knife: A sturdy soil knife (such as a Jori or similar field knife) is useful for extracting clean samples from the pit wall, probing for differences in horizon density and structure, and cutting soil peds for examination.
Other supplies
- Rag or towel: Clean your hands thoroughly between texture samples. Residual soil from a previous horizon can contaminate your next sample and lead to inaccurate texture readings.
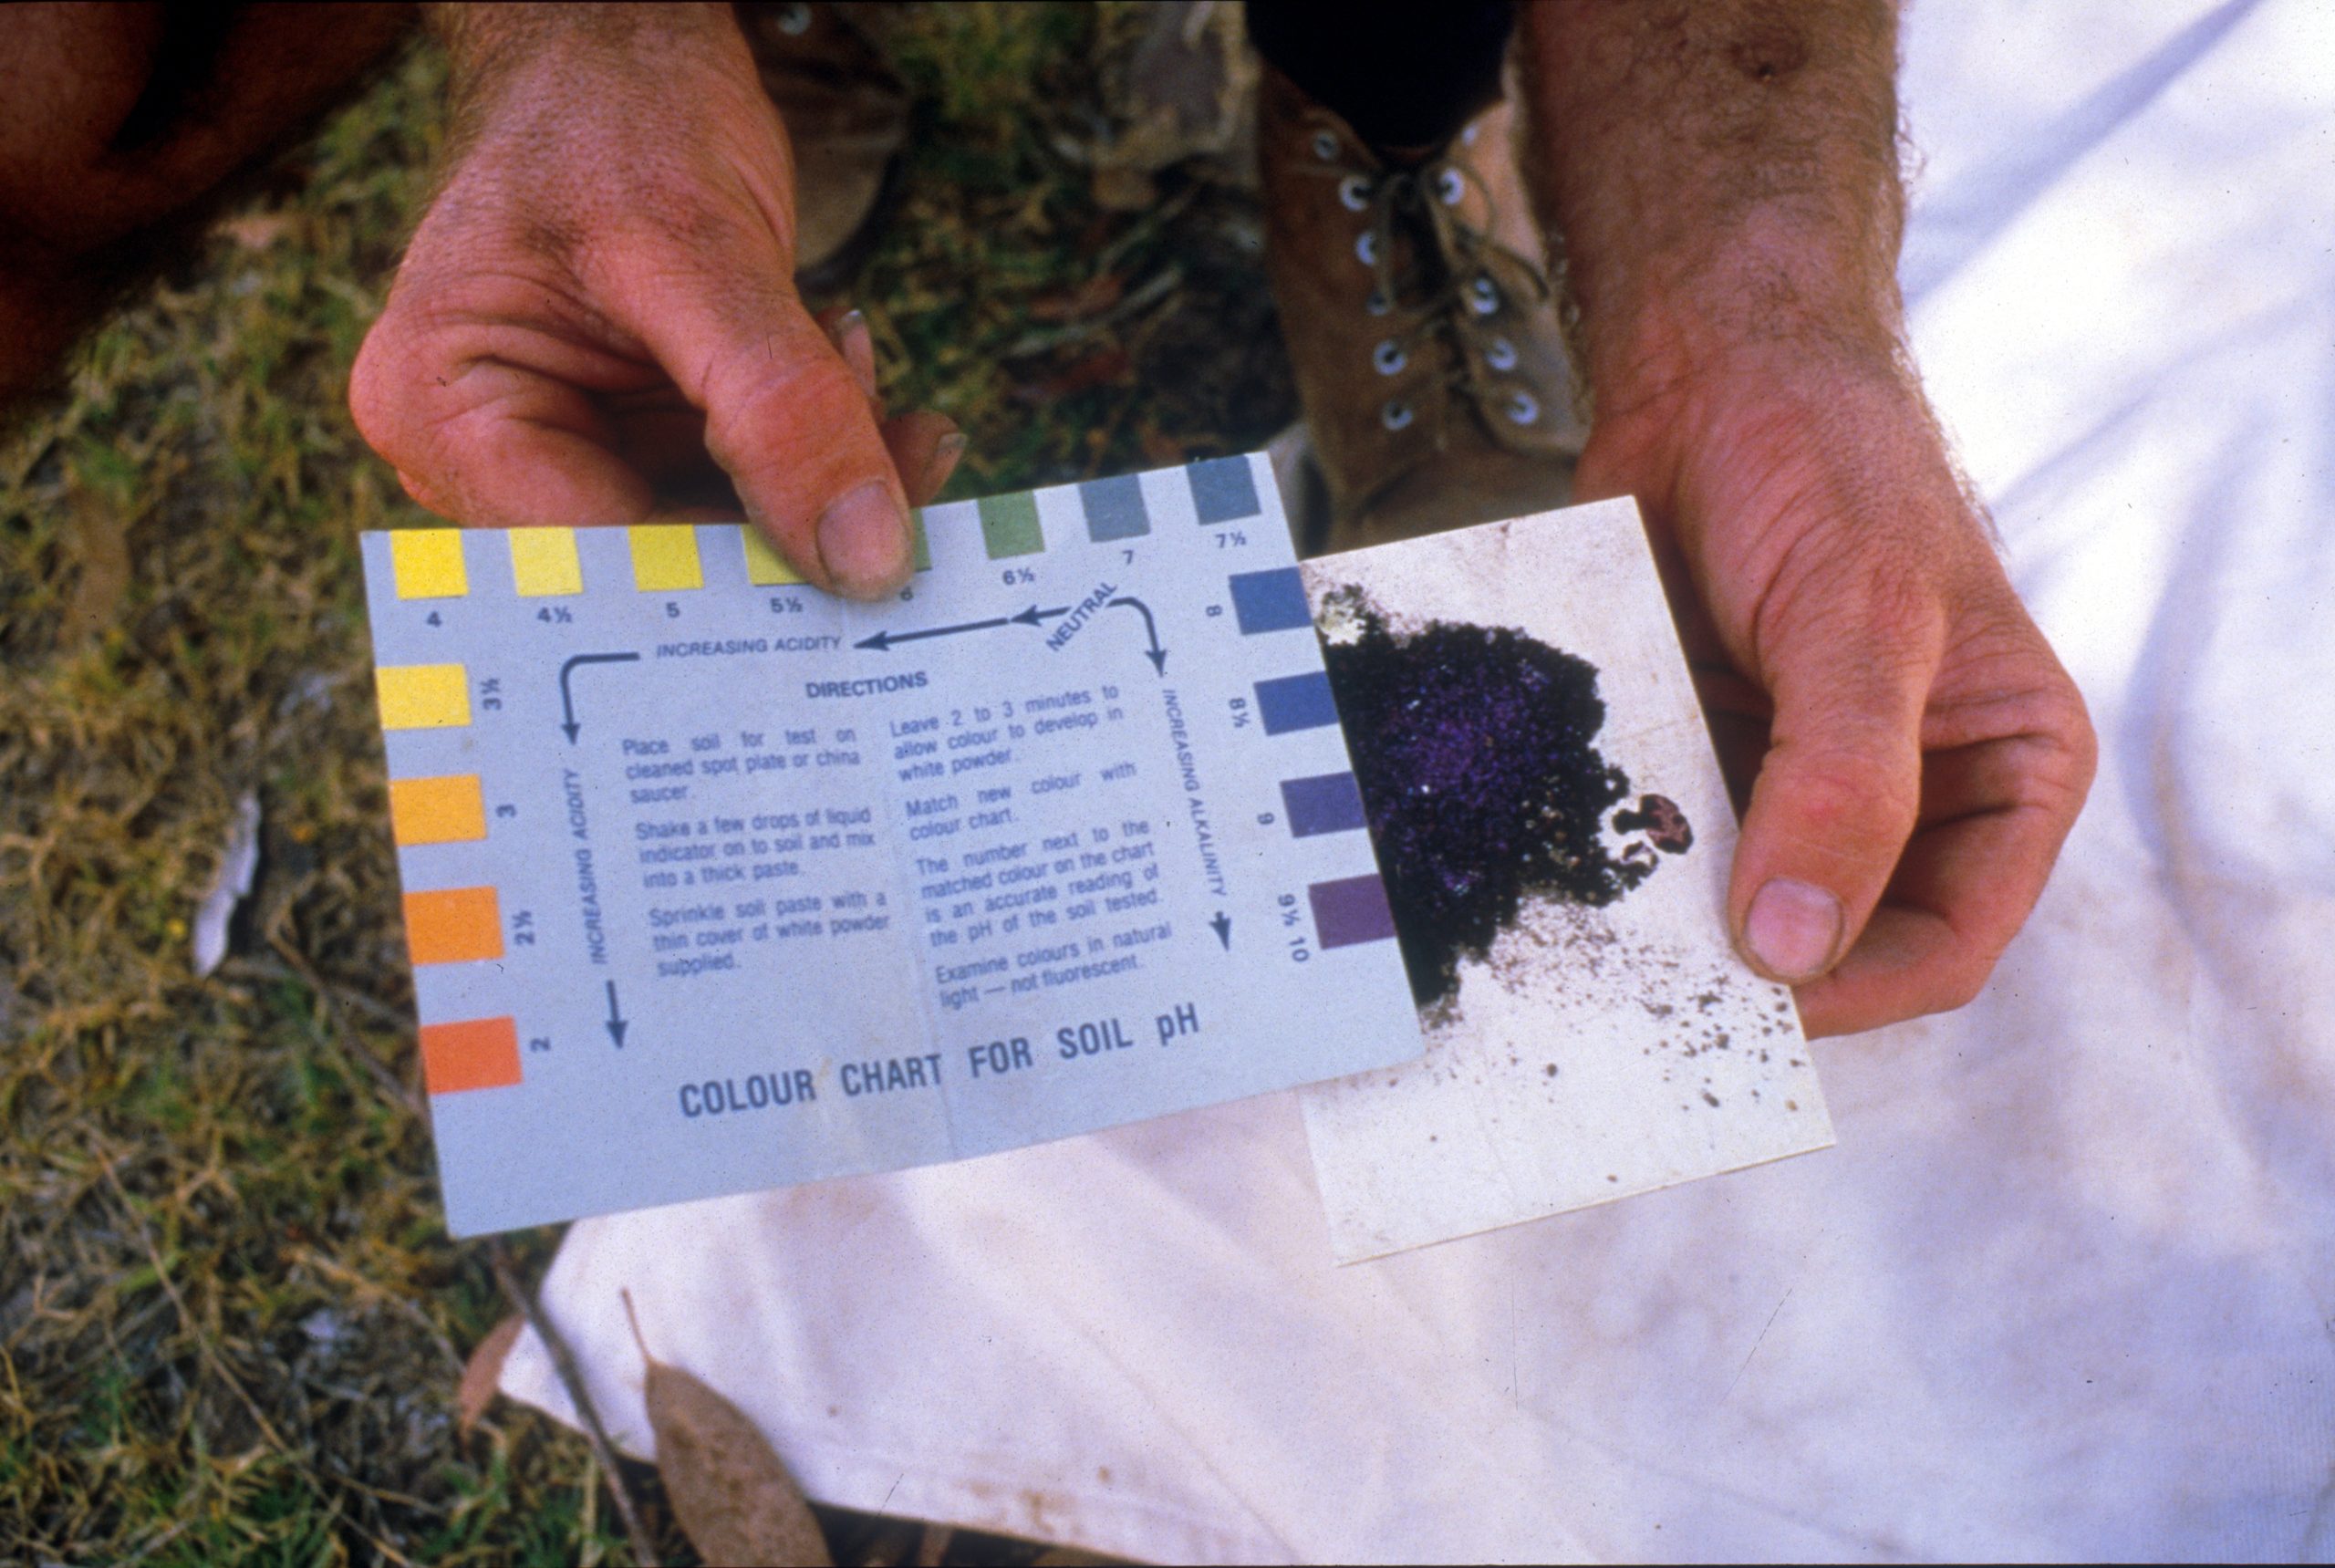
- Reference materials: A texture triangle, soil texturing flow chart, and effervescence class chart are helpful references to have in the field. These can be found in the BLM Monitoring Manual for Grassland, Shrubland, and Savanna Ecosystems or printed and laminated as standalone field aids.