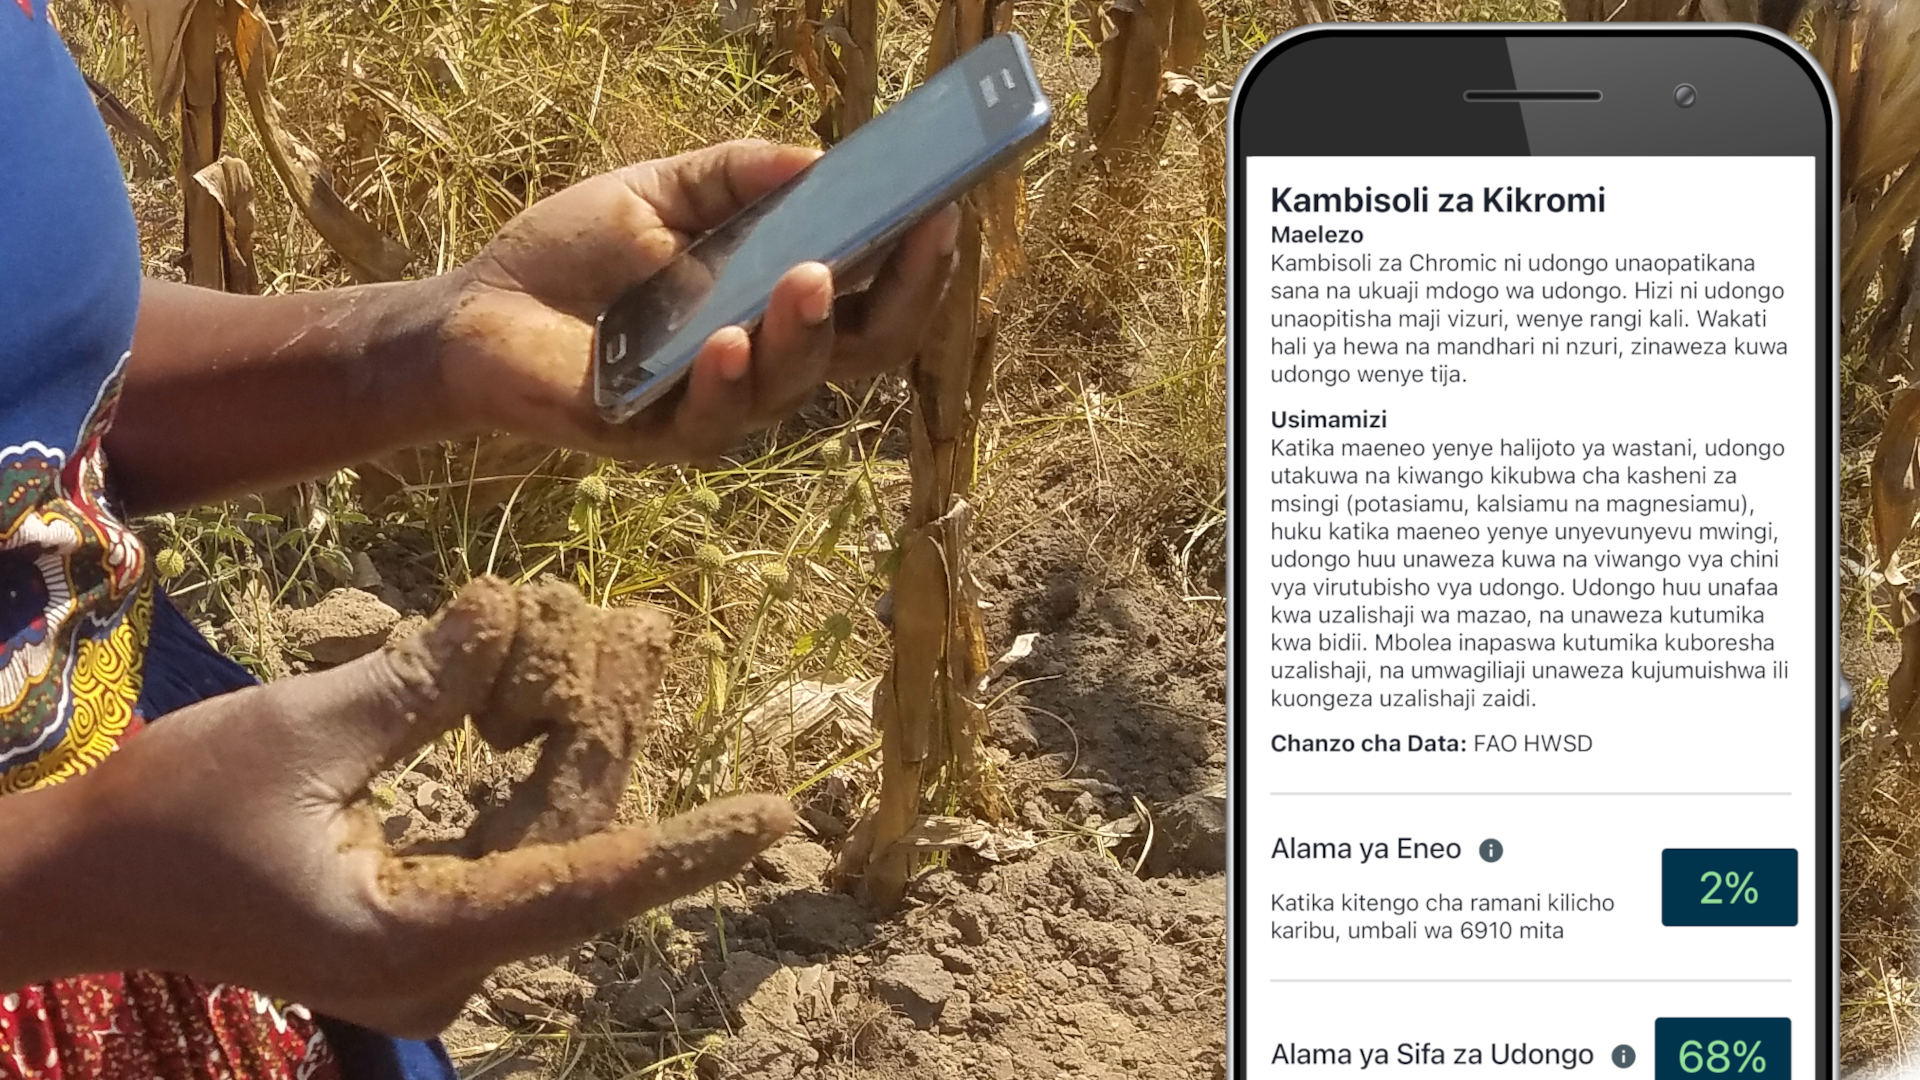
When measuring soil properties, soil observations are recorded by predetermined depths or by identified soil horizons in a soil pit. Rather than treating the soil profile as a single uniform layer, you collect and describe a separate sample from each distinct zone from the surface downward. This approach captures how soil properties change with depth—information that is critical for accurate Soil ID matching and for understanding how the soil will behave under different land uses.
When entering observations about a sand pit in LandPKS Soil ID and LandPKS Classic, use depth presets. If you’re comfortable with a more advanced technique you can define custom horizons, that is, the places where each layer of soil begins and ends.
Step 1: Identify soil horizons
Soil horizons are layers in the profile that differ from one another in color, texture, structure, or composition. These differences reflect the pedogenic processes that shaped the soil over time. In LandPKS Soil ID, horizons are labeled numerically from the surface downward: Horizon 1 is closest to the surface, Horizon 2 is the next layer down, and so on.
When examining the pit wall, look for changes in:
- Color: A visible shift in hue, value, or chroma often marks a horizon boundary.
- Texture: A change from sandy to clayey material, or a sudden increase in gravel, indicates a new layer.
- Structure: Differences in how soil peds (aggregates) are shaped and held together can signal a horizon change.
- Root distribution: A sharp decrease in roots often corresponds to a restrictive layer below.
- Human disturbance: Signs of compaction, tillage, or fill material may appear as distinct layers.
- Rock fragment content: A sudden increase or decrease in coarse fragments marks a boundary.
Use your soil knife to help identify boundaries. Pull peds from the pit wall at different depths and compare their size, shape, and density. Probe the wall with the knife tip, resistance can change noticeably when you move from one horizon into another.
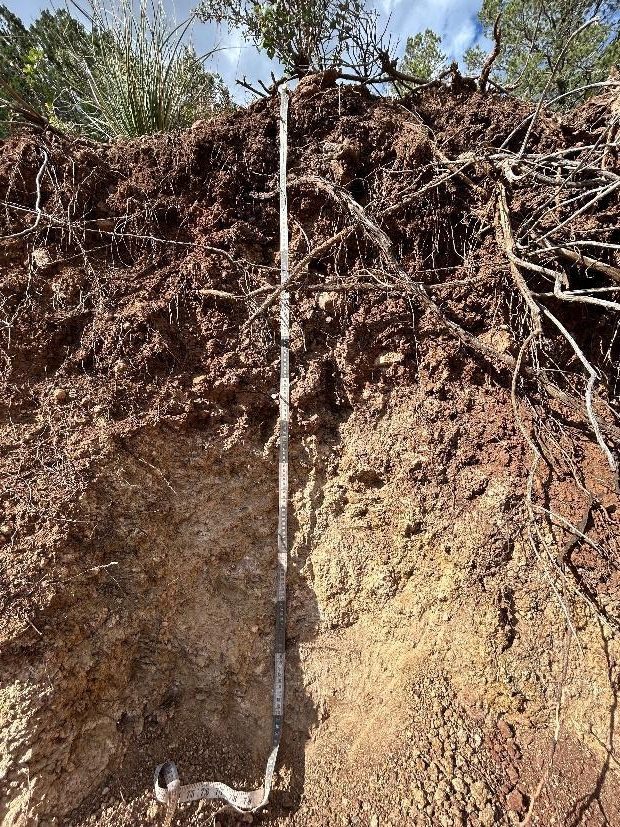
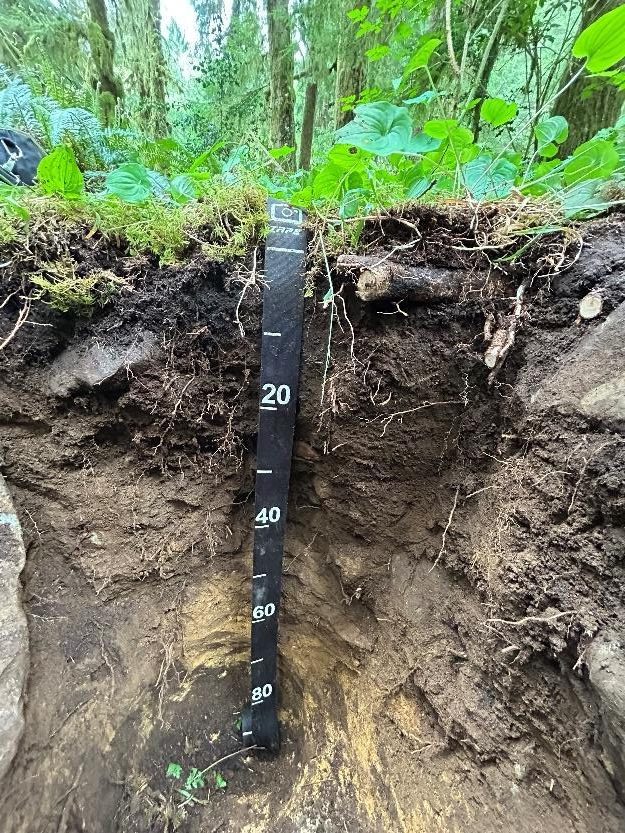
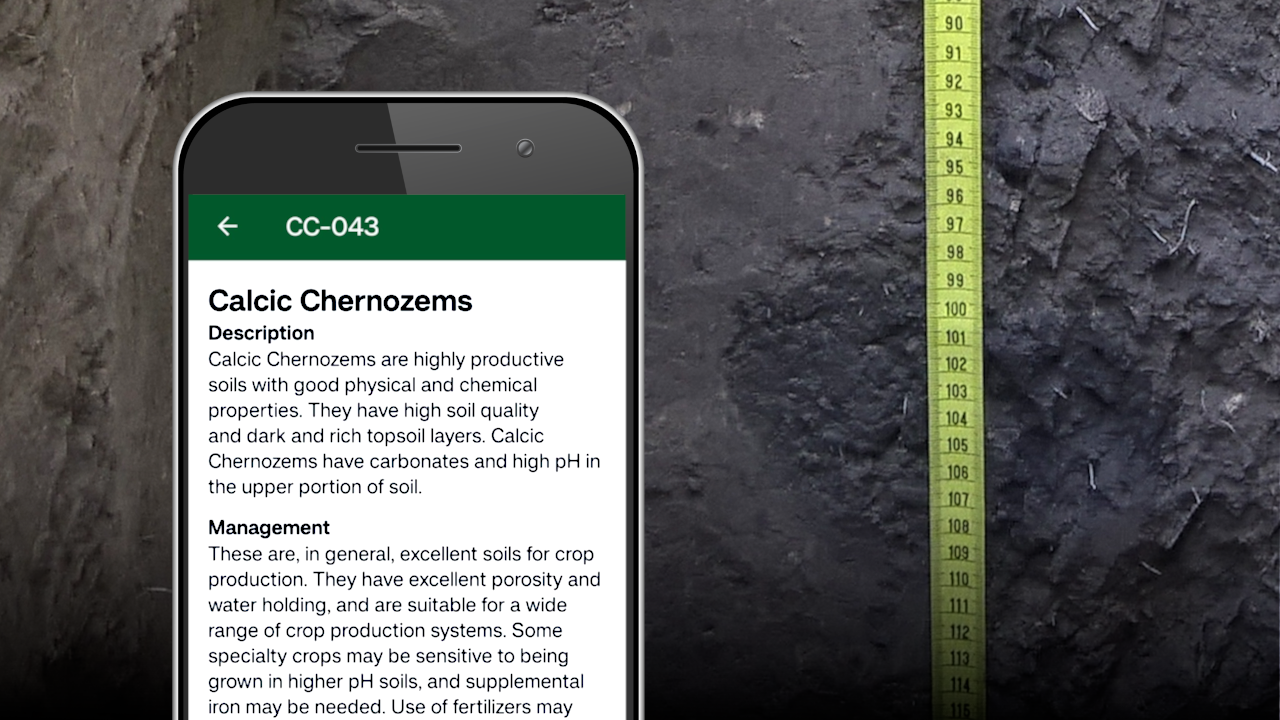
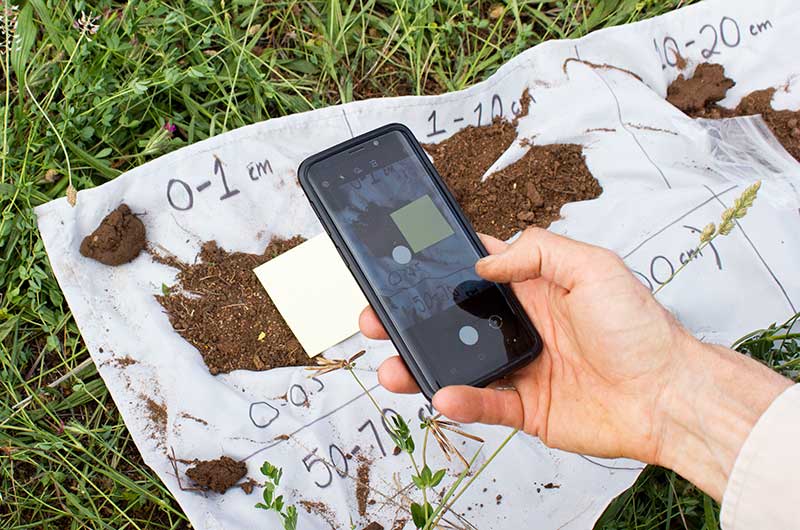
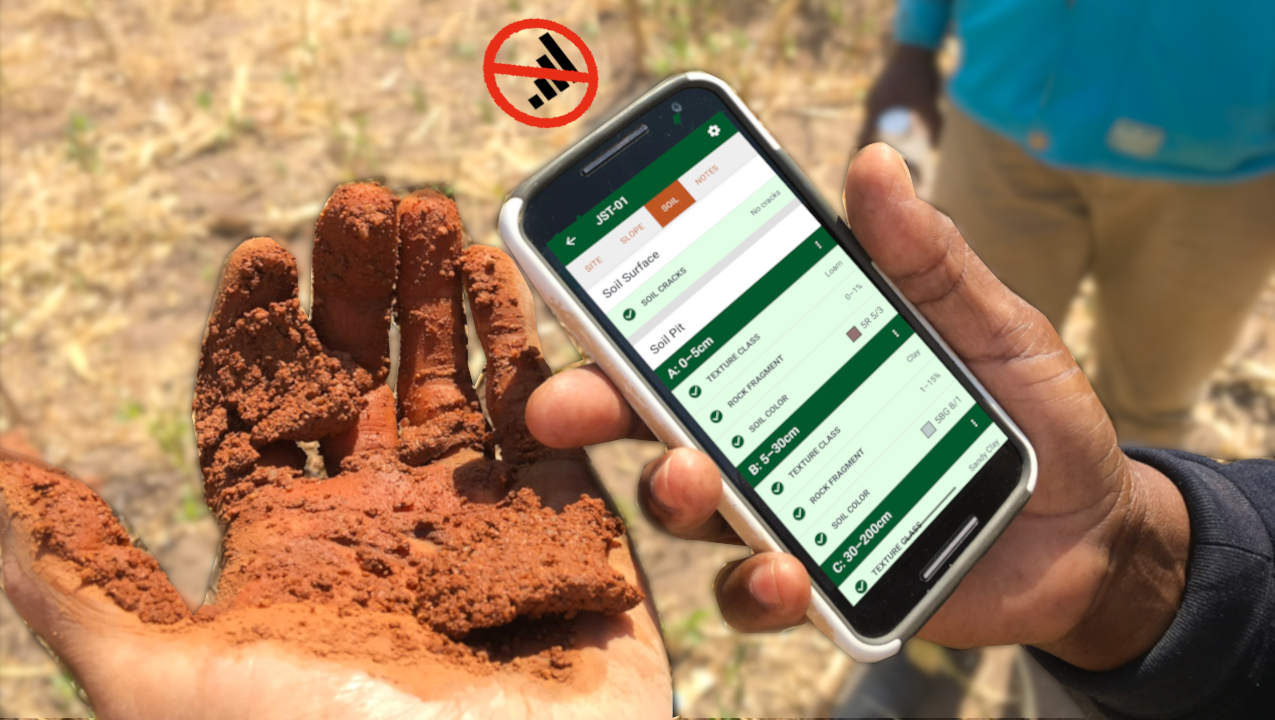
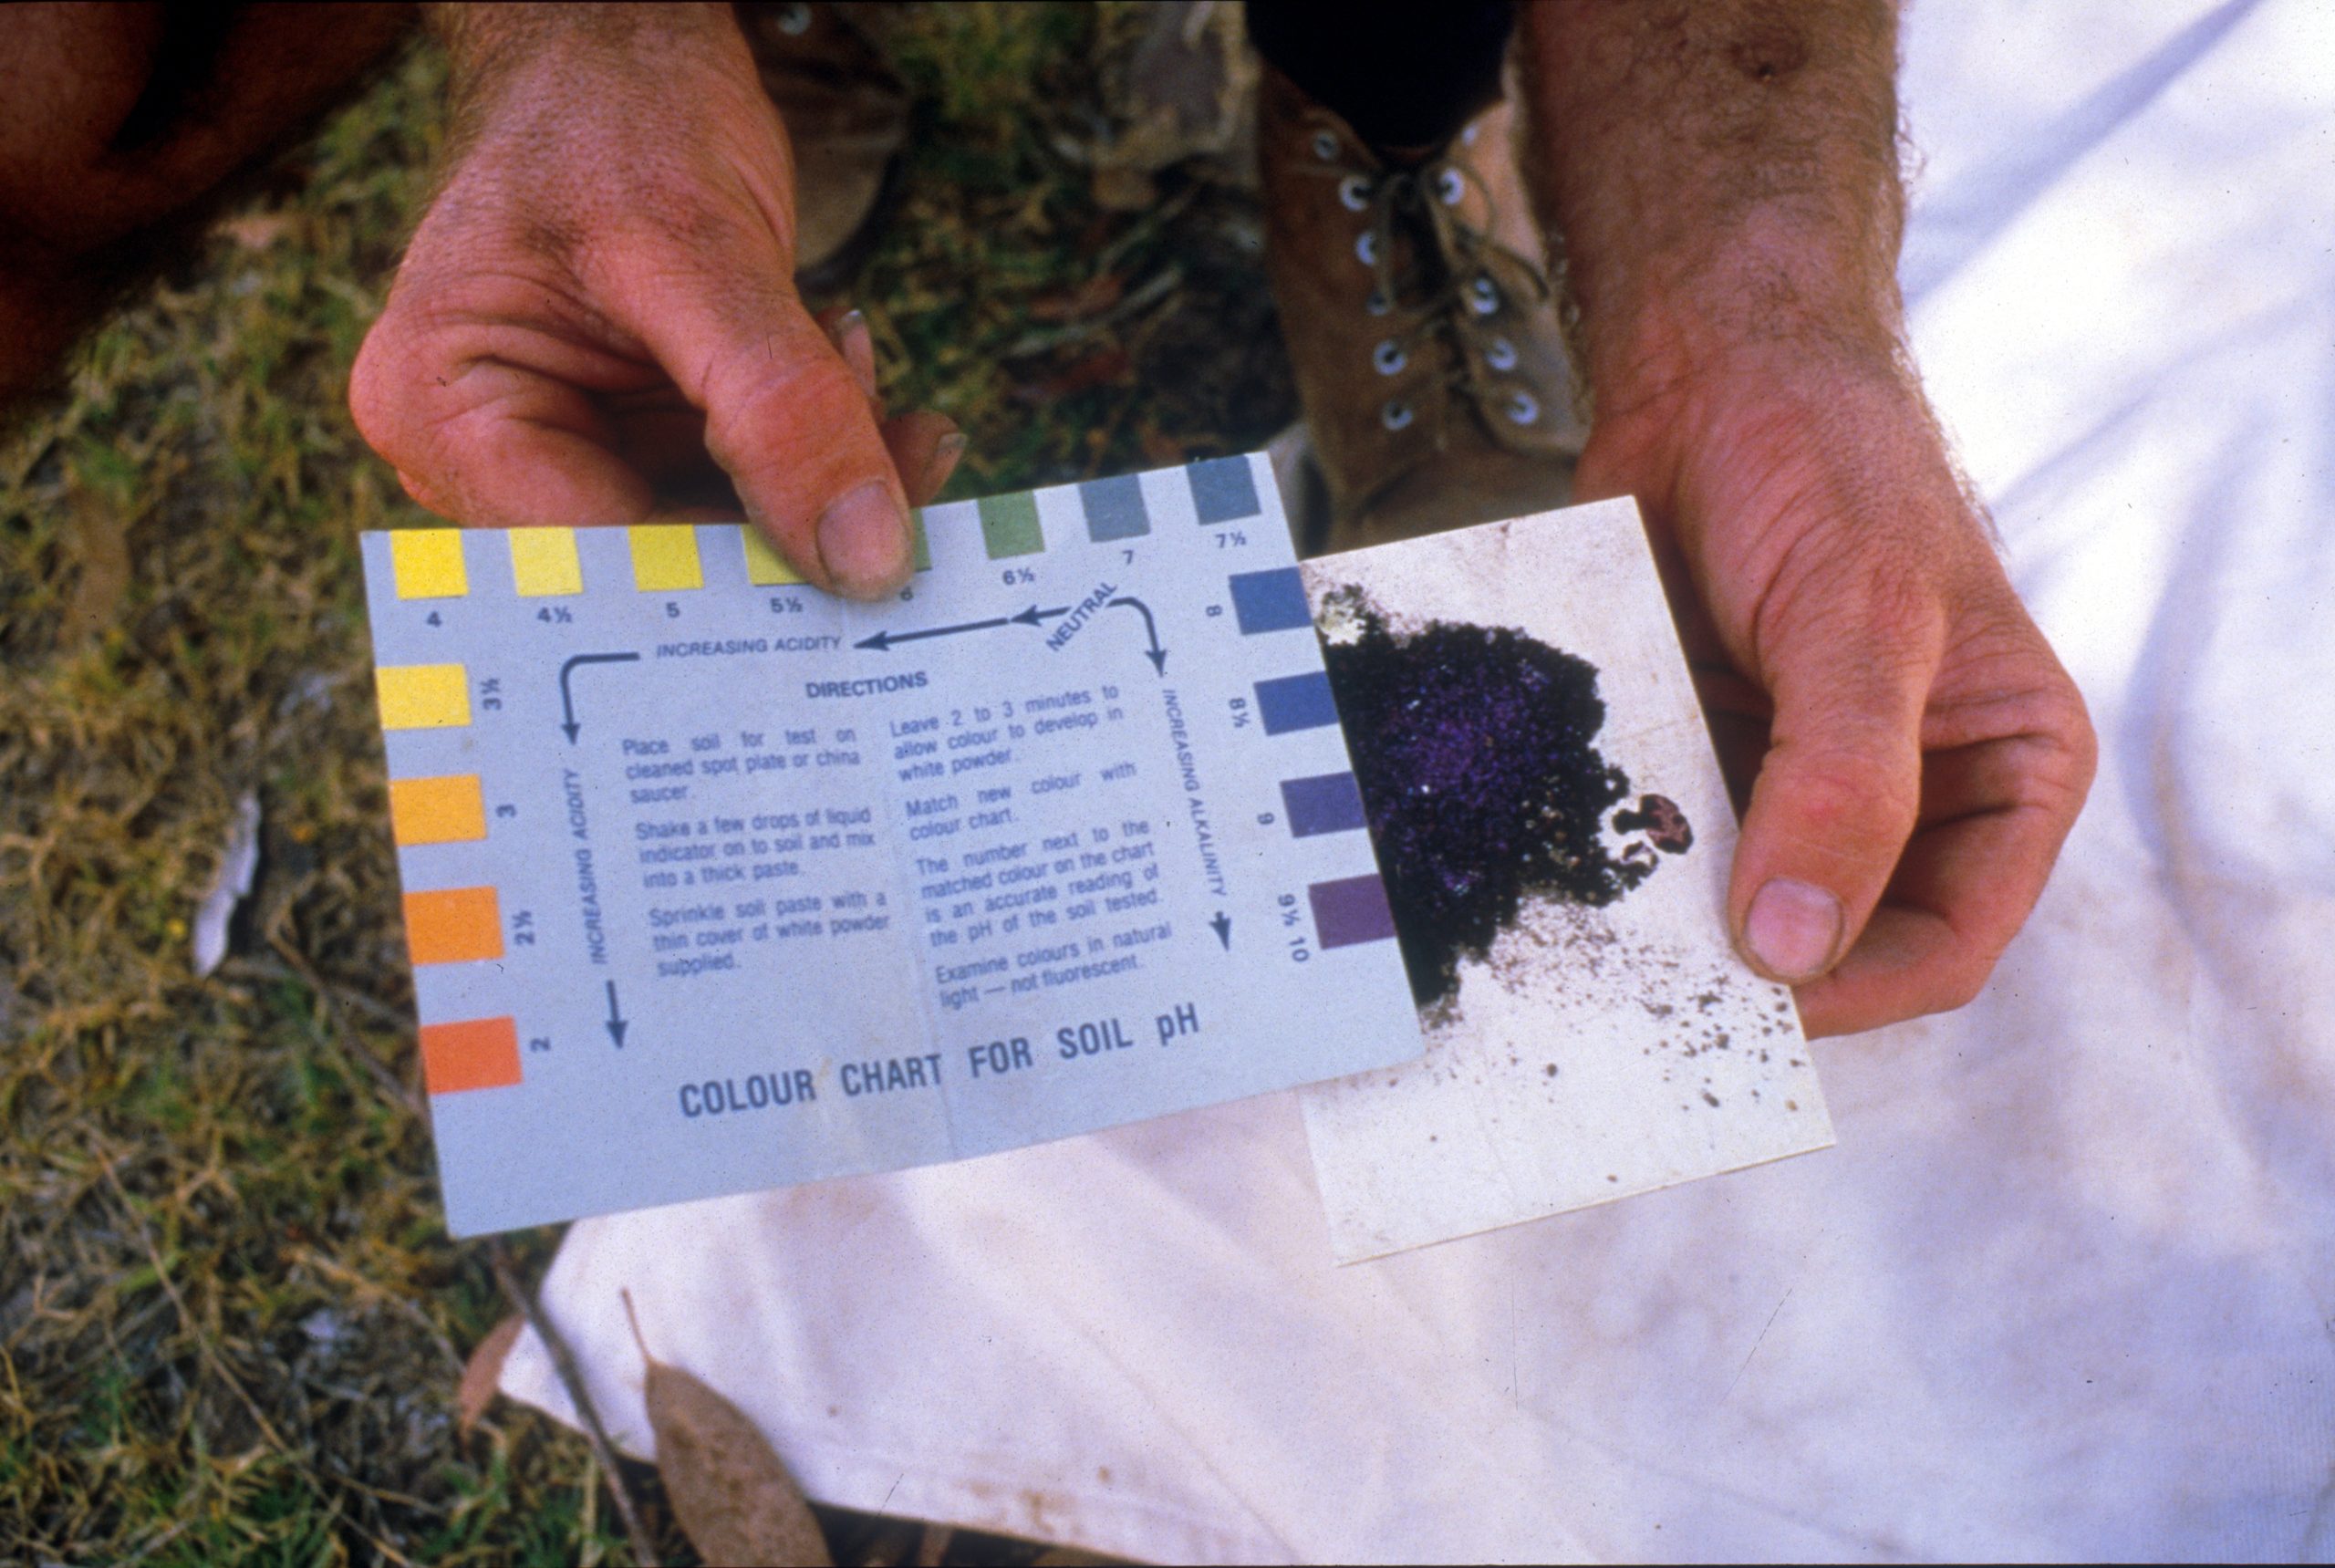
Soil Profile A (above left) is an example of a notable change in where the roots are growing. Roots stop moving into the soil at around 70cm indicating a change in soil properties at that boundary. Soil profile B (above right) is an example of when using colors to determine horizon boundaries would be appropriate.
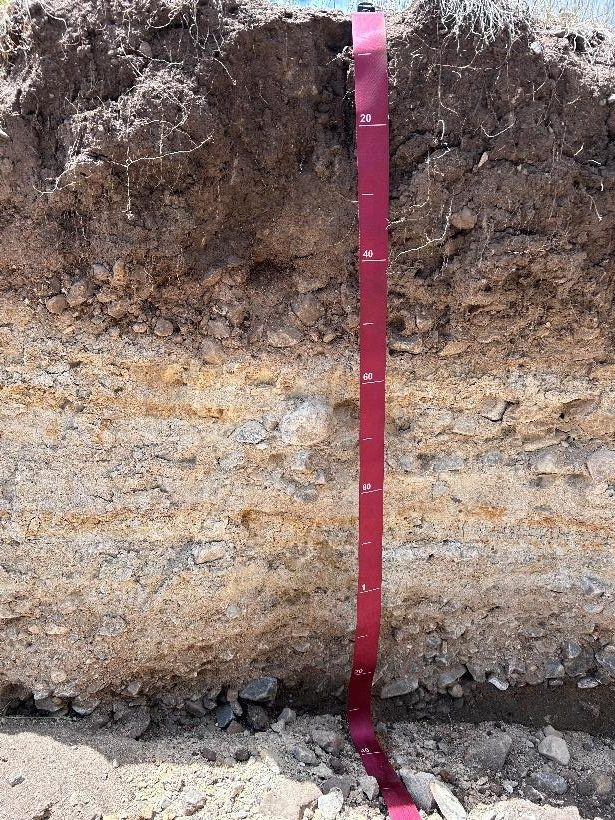

Soil Profile C (above left) is an example of separate parent materials. Above we can see over bank deposits where when the water overflows, it deposits water and sediments onto the bank, we can also see nice development of soil organic matter (dark surface colors). Starting at about 55 cm we can see that the color drastically changes where we have the soils weather from limestone residuum. Soil profile D (above right) is an example where we can see distinct changes in rock fragment distribution in different horizons.
Step 2: Mark horizon boundaries and depths
Once you have identified where horizon boundaries occur, mark them by inserting golf tees horizontally into the pit wall at each transition point. Golf tees give you a clear visual reference when photographing the profile and when measuring depths.
Using a tape measure with 0 cm at the soil surface, record the depth to the bottom of each horizon. These depths correspond to the depth you will enter in LandPKS Soil ID. Take a vertical photograph of the full profile at this stage — capture one pit face from surface to bottom, with the surface either entirely in sun or entirely in shade to avoid mixed lighting.
If horizon identification is not possible: Use one of the preset depth options (see Soil pit depths section above.)
Step 3: Collect a sample from each horizon or depth
Collect a separate sample from each horizon or depth. Using a 500 mL measuring cup gives you a standardized volume that allows consistent comparisons across horizons and sites. Fill the cup to the 500 mL line with material taken from within the horizon, then transfer the sample to a labeled container. Keep each horizon’s sample separate to avoid mixing material from different depths.
Clean your hands thoroughly between samples. Residual material from a previous horizon on your hands or tools will contaminate the next sample and affect texture and color readings.
Step 4: Prepare samples for observation
Before recording texture or color, each sample needs to be prepared. Raw samples from the pit contain coarse fragments and organic material that will interfere with both observations.
Sieving
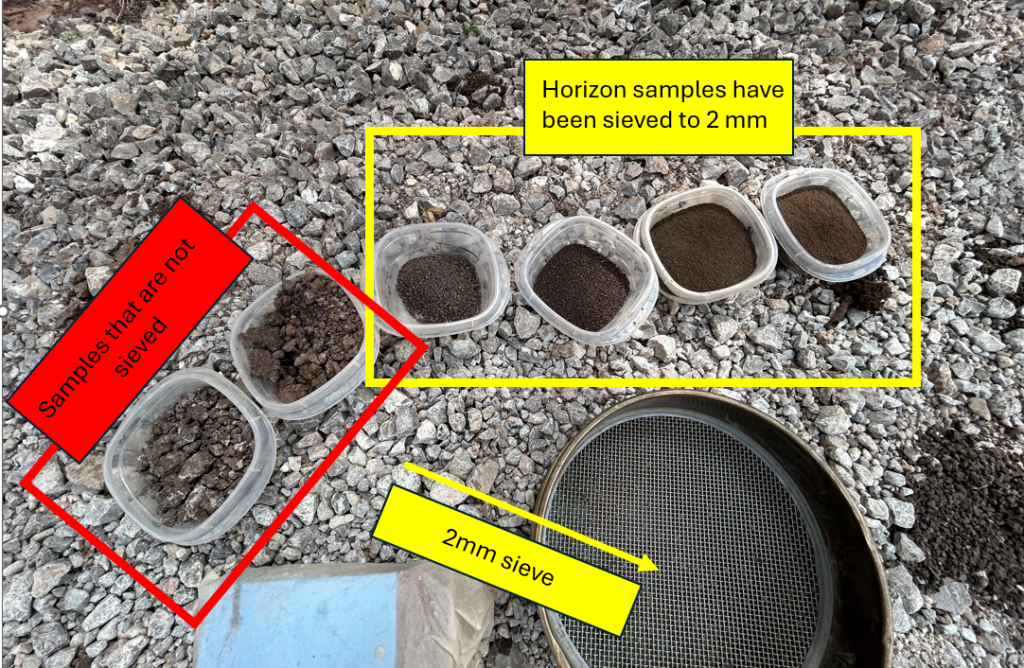
Pass the sample through a 2 mm sieve to separate fine earth from rock fragments. The fine earth fraction (material passing through the sieve) is what you will use for texture and color observations. The material retained on the sieve is your coarse fragment fraction, which you will weigh or estimate by volume to calculate rock fragment percentage. Handle the sieve gently — sieves are easily bent or torn. Break up hard soil peds on a shovel blade before sieving rather than forcing them through.
Removing organic matter
After sieving, remove any visible organic material—roots, plant debris, and charcoal—from the fine earth fraction by hand. Organic matter affects both texture (it feels fibrous and spongy rather than mineral) and color (it darkens the sample). Removing it ensures your observations reflect the mineral soil properties that the Soil ID algorithm is designed to match.
Note: This preparation applies to texture and color observations. For rock fragment volume, work from the unsieved 500 mL sample before removing coarse material.
With samples in hand, you’re ready to measure soil properties such as texture class, rock fragment volume, and soil color.