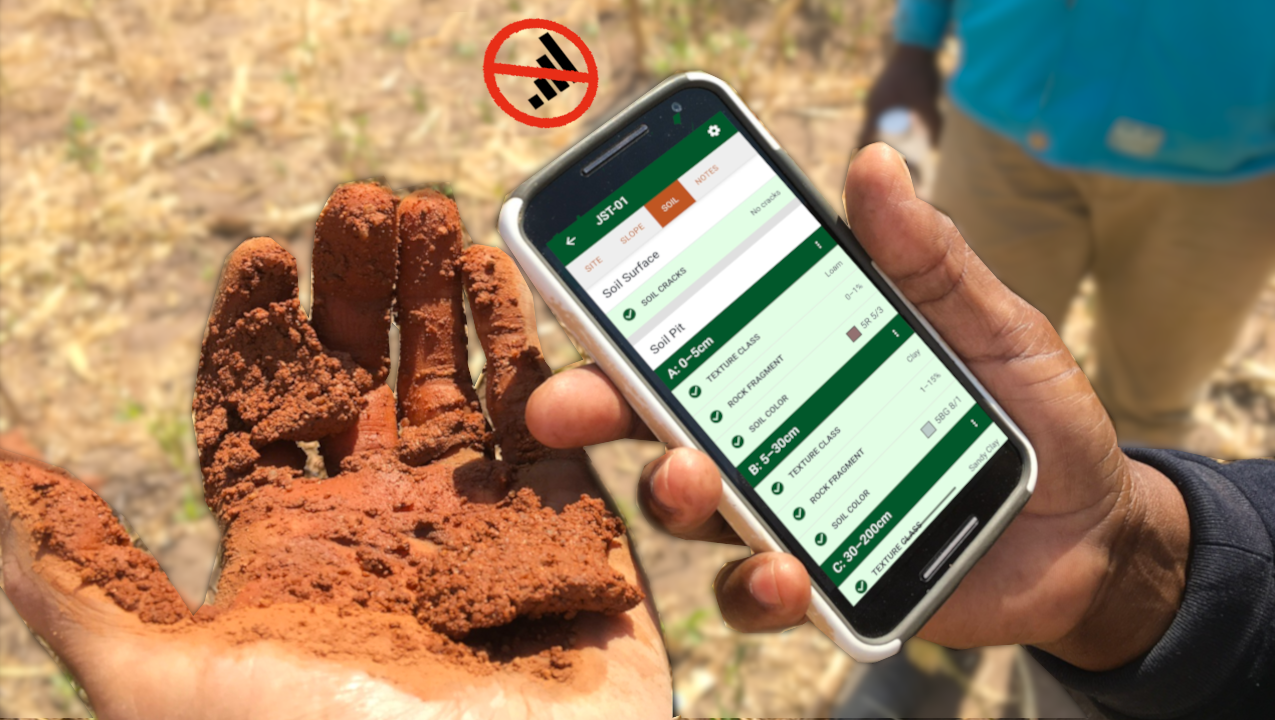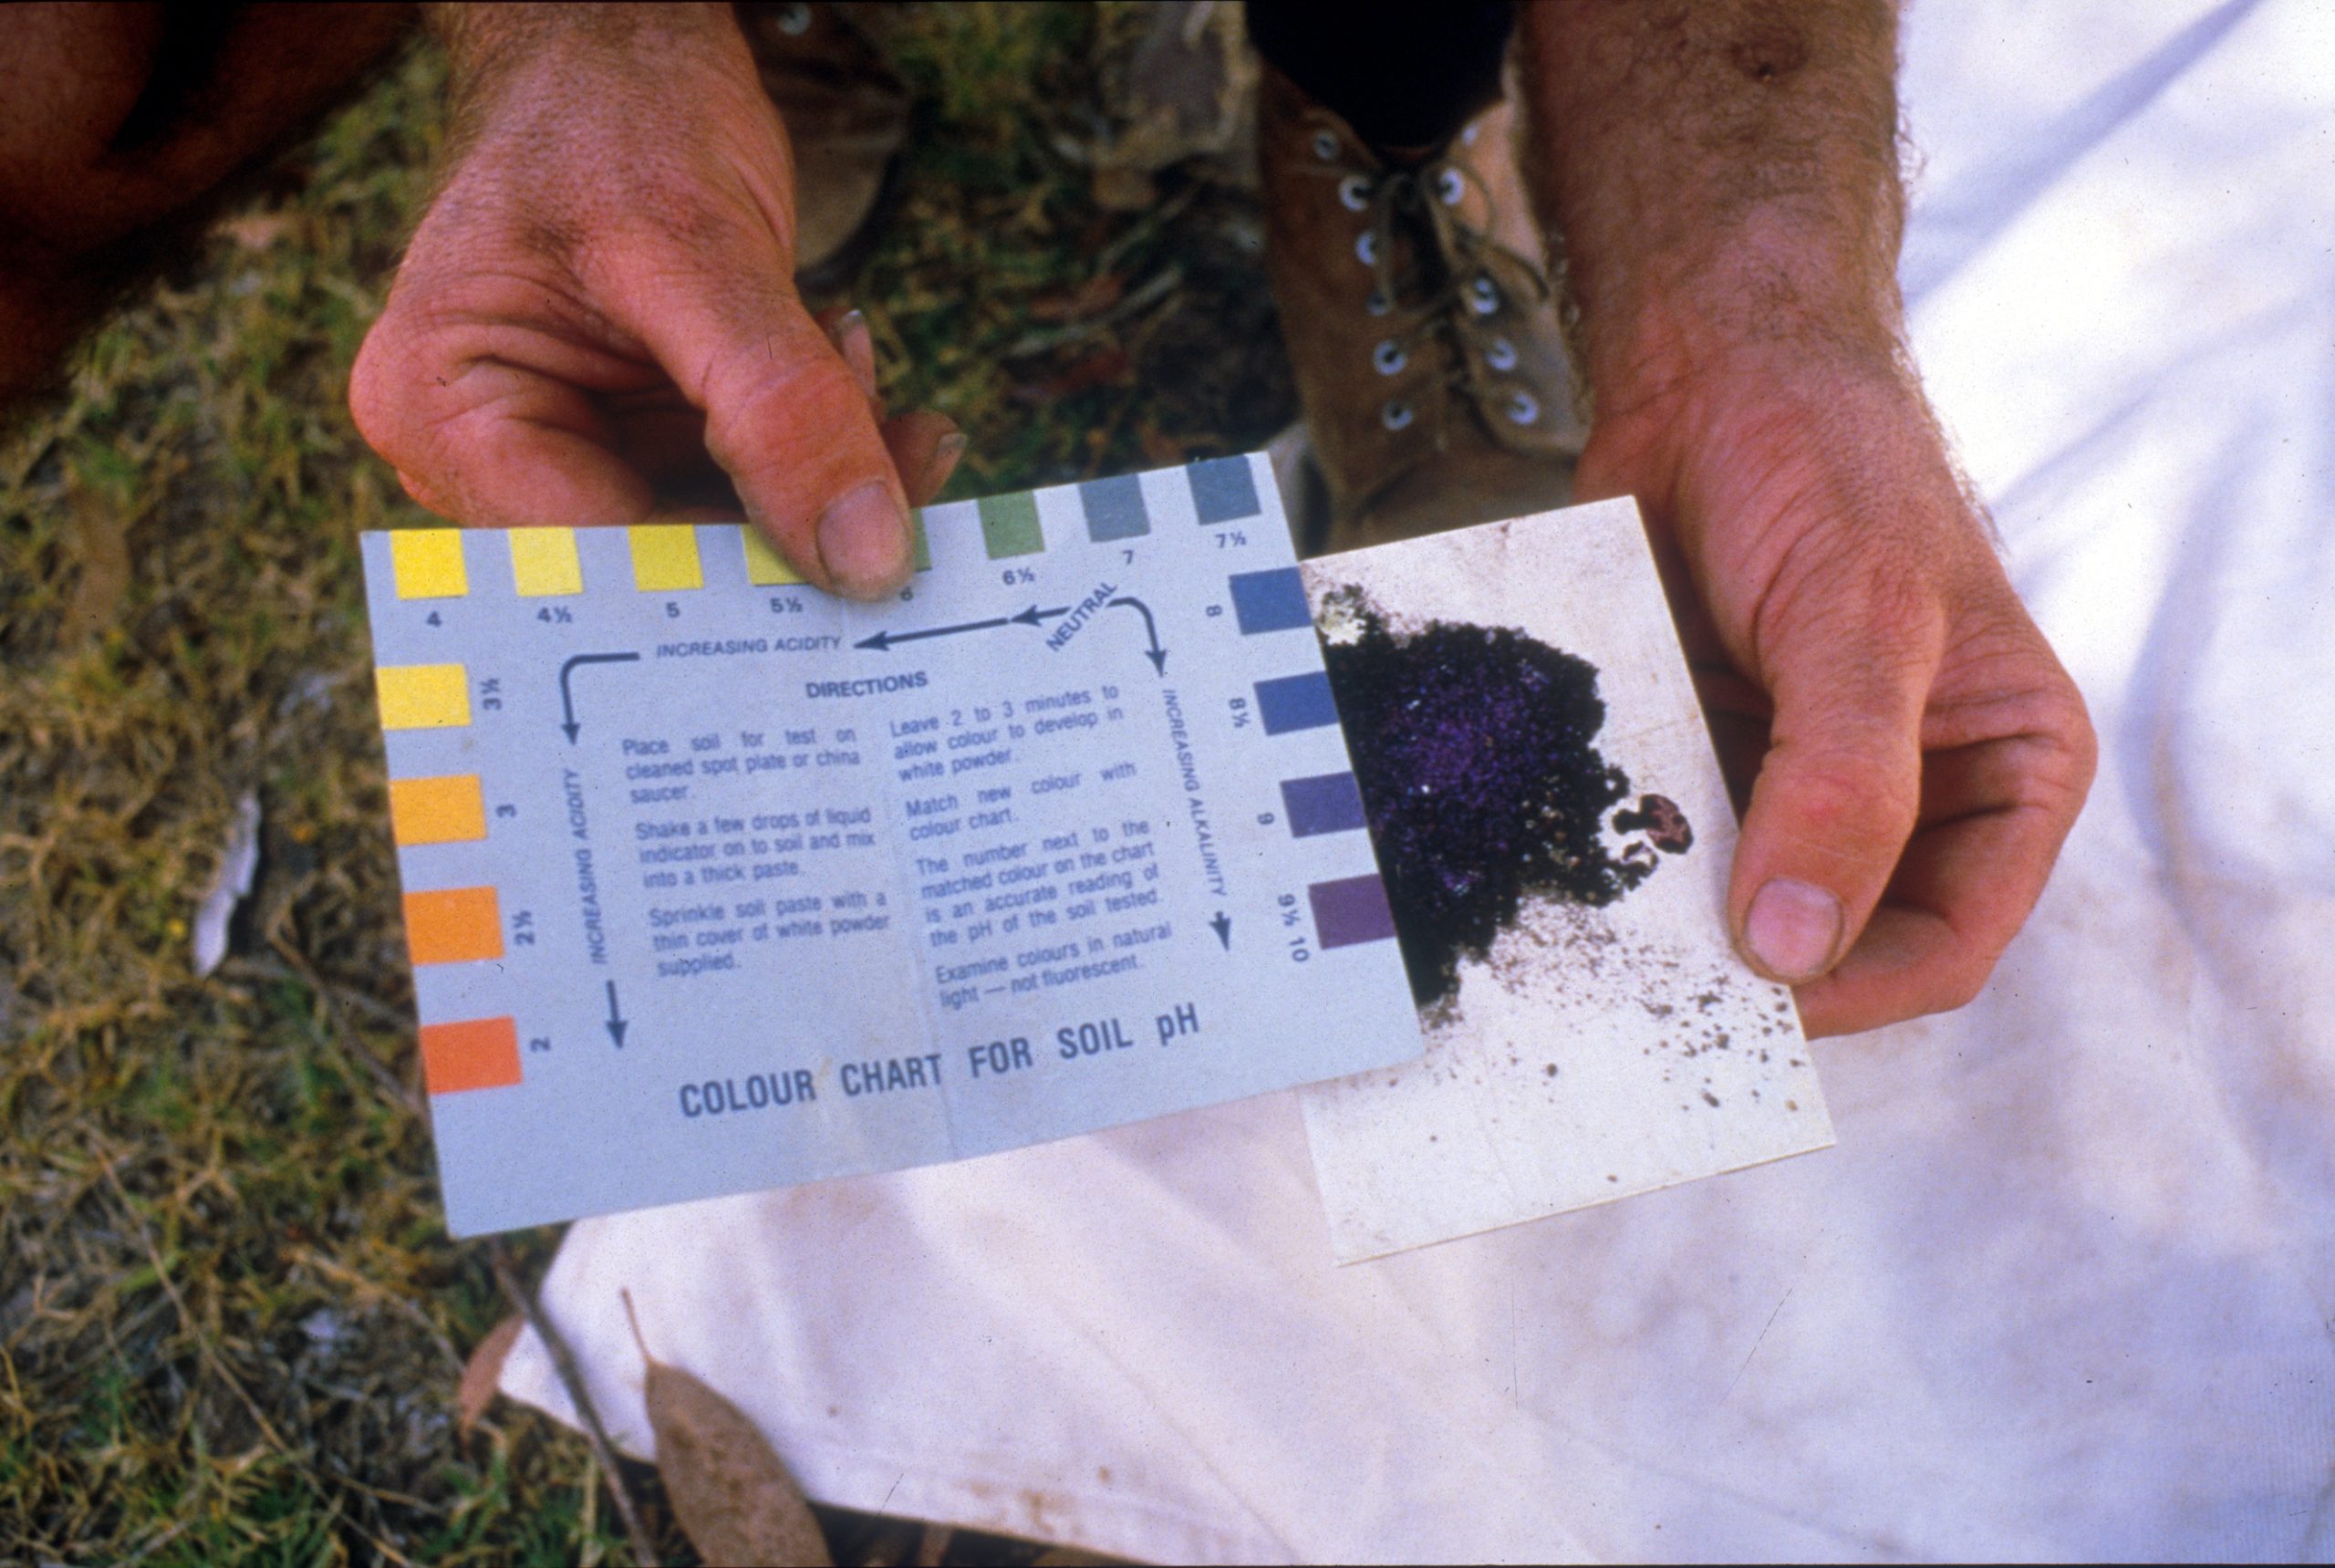
Whether you need to monitor a rangeland, measure soil health, identify a soil, determine soil limitations, or any other soil-focused analysis, the first step is to identify where you will gather observations. This document describes approaches to placing your soil pit, depending on your context.
General guidance for all users
- The site should be placed in a location that is representative of the area you want to describe. The goal is to observe soil conditions that reflect the dominant soil and land use, not unusual or disturbed spots.
- Choose an area that is representative of the field, plot, or site.
- Avoid obvious disturbances such as roads, trails, fence lines, livestock concentration areas, old pits, fill material, erosion features, and areas with heavy surface disturbance unless that is a focus of the observations.

Monitoring plots or formal sampling designs
- When working within a defined plot, the preferred pit location is often near the plot center, if allowed by the sampling design.
- If a central area is designated as a “trample zone” or non-measurement area, placing the pit there helps minimize impacts to vegetation measurements and keeps the pit centrally located for coordination with others.
For research and comparative studies
- Select locations that align with your research question and maintain consistency across sites.
- Record any deviations from ideal placement (e.g., moving the pit due to rockiness or access constraints).
Farmers, land managers, and educators
Place the pit where soil conditions are most relevant to management decisions, such as:
- Areas with average crop growth or yield
- Representative pasture or rangeland areas (see sampling design section for more details on site selection)
- Locations students can safely access and observe
- Avoid wheel tracks, or areas influenced by irrigation infrastructure unless those conditions are the focus of the observation.
Tools for sample planning
Various open-source tools have been developed to help people choose sites for soil sampling. These include:
Surprises in the field
If bedrock or an impenetrable layer is encountered near the surface:
- Stop digging and document the depth of the restrictive layer.
- Move the pit a short distance (approximately 1–3 meters) and try again.
- If shallow bedrock is consistently encountered, record this as a site characteristic in a note rather than continuing to relocate.
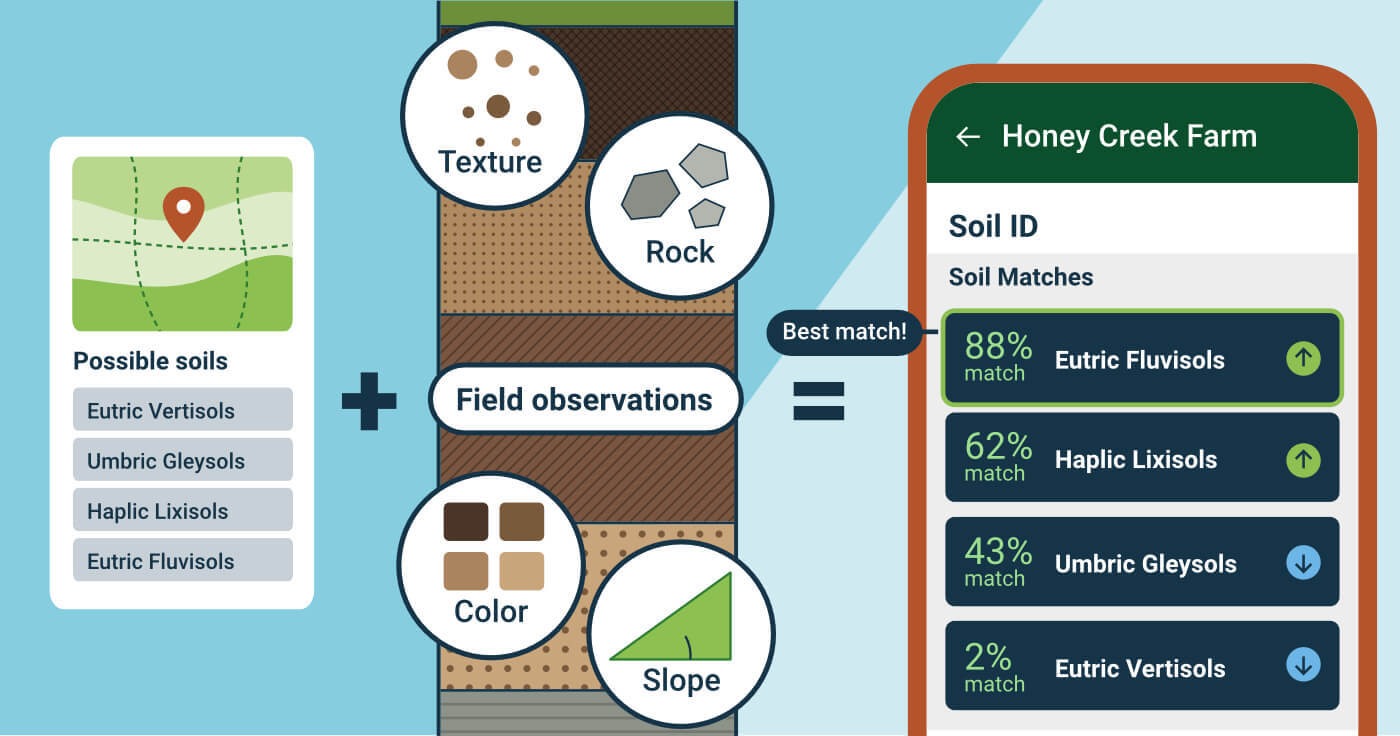
The chosen site should balance representativeness, safety, minimal disturbance, and consistency with the goals of your LandPKS Soil ID or LandPKS Classic observations.
Once you’ve decided on a location, you’re ready to create a site and start digging.